
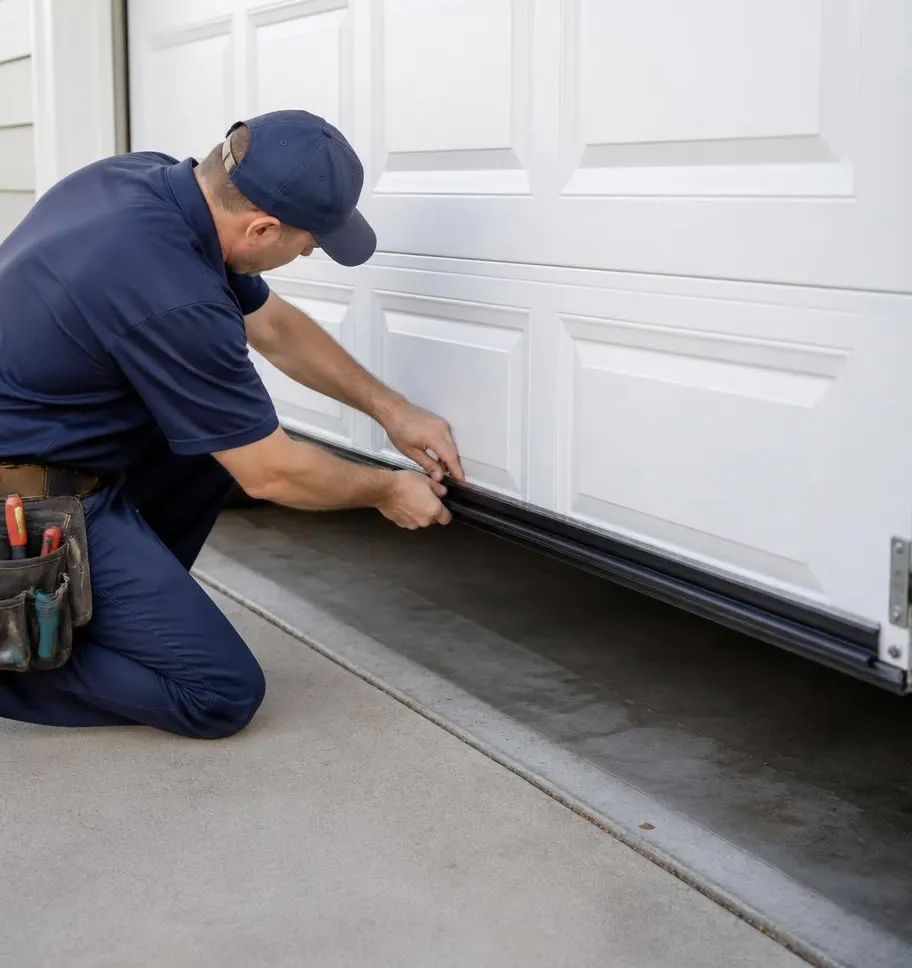
What a Technician Sees on This Kind of Call
The typical fall service call starts the same way: a homeowner notices daylight leaking under the garage door, or they walk in to find a thin line of dirt, dead leaves, or even a mouse dropping along the bottom edge of the floor. By the time someone calls, the rubber seal is usually cracked, flattened, or torn clean through in spots — often from a winter of ice scraping across it or a summer of UV exposure drying it out. On older installs, the side and top weatherstripping (sometimes called jamb seals) has pulled away from the frame entirely, leaving gaps wide enough to see light through at the corners. This is one of the cheapest, most overlooked fixes in garage door care, and it matters more here than in milder climates because of how hard our winters and spring storms work that seal.
Tools You'll Need
- Replacement bottom seal (bulb-style or beveled, matched to your track width)
- Replacement side/top weatherstripping (vinyl, felt, or foam-backed, depending on your current setup)
- Utility knife or scissors
- Flathead screwdriver or trim puller
- Tape measure
- Stiff brush or shop vac for track cleaning
- Work gloves
Step-by-Step: Replacing the Bottom Seal
- Inspect the current seal. Look for cracking, flattening, gaps at the corners, or sections pulled loose from the track. Press down on the seal with your thumb — if it doesn't spring back, it's done.
- Identify your track style. Most residential doors use a T-style, bulb, or beveled seal that slides into an aluminum retainer along the bottom panel. Take a photo and measure the door's width before buying a replacement.
- Open the door partway so you have room to work, and support it so it can't come down unexpectedly.
- Pull the old seal out of the track by hand or with a flathead screwdriver if it's stiff or glued in from age.
- Clean the track with a brush or shop vac. Built-up grit, salt residue, and old rubber bits will keep the new seal from seating properly.
- Cut the new seal about an inch longer than the door width, then feed it into the track from one end, working it through until it's fully seated.
- Trim the excess flush with each side once it's in place.
- Check the side and top weatherstripping at the same time. If it's brittle or pulling away from the frame, pry off the old strip, clean the surface, and press or nail the new strip into place following the same profile.
- Close the door and check from inside with the lights off during daylight — any visible light means a gap that still needs adjusting.
What's a Homeowner Job, and What Isn't
Replacing a standard bottom seal or basic weatherstripping is well within reach for most homeowners with an afternoon and basic tools. Where it gets trickier: if the track itself is bent or rusted, if the door is out of square so the seal never sits flush no matter how new it is, or if you have an insulated door with a factory-injected foam seal that requires matched parts. Water intrusion that continues after a fresh seal is installed usually points to a bigger issue — a damaged bottom panel, a sloped or uneven slab, or spring tension pulling the door unevenly as it closes. Those situations call for a technician, not another trip to the hardware store.
When to Call Alexandria Garage Door
If you've replaced the seal and still get drafts, standing water, or daylight at the corners, it's worth having someone look at the whole system rather than the seal alone. As part of a Garage Door Maintenance visit, we check track alignment, panel condition, and spring balance — all of which affect how well any seal performs. If the bottom panel is cracked or the track is bent from years of road salt and ice, that falls under Garage Door Repair, and we'll walk you through whether a patch or a panel replacement makes more sense before winter sets in.
Don't let a worn seal turn into a drafty, pest-prone garage through another Indiana winter. Call Alexandria Garage Door today to get your seals checked and your door ready for the cold.